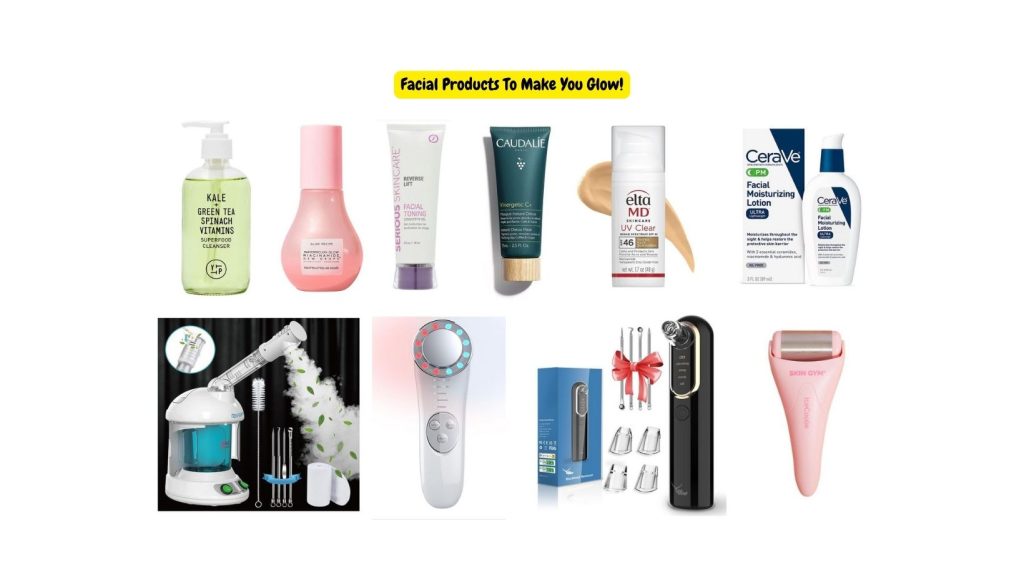
Achieve Radiance and Beauty at Home
Benefits of this do-it-yourself (DIY) facial guide
What you’ll benefit from reading this carefully curated do-it-yourself facials guide includes the necessary steps you’ll take to get effective desired result and the very important links to a list of professional products and equipment you will need to do your facials at home safely. These links takes you to amazon stores where you buy these top quality products at no extra cost but rather at a good deal that may include valuable bonuses. Read to the end to get the full benefits.
A do-it-yourself (DIY) regular facial typically involves a series of steps and products that you can use at home to care for your skin. Here’s a basic outline of what a DIY regular facial might entail:
- Cleansing: Start by washing your face with a gentle cleanser to remove makeup, dirt, and impurities.
- Exfoliation: Use an exfoliating product (like a scrub or chemical exfoliant) to remove dead skin cells and unclog pores. Be careful not to over-exfoliate, as this can irritate the skin.
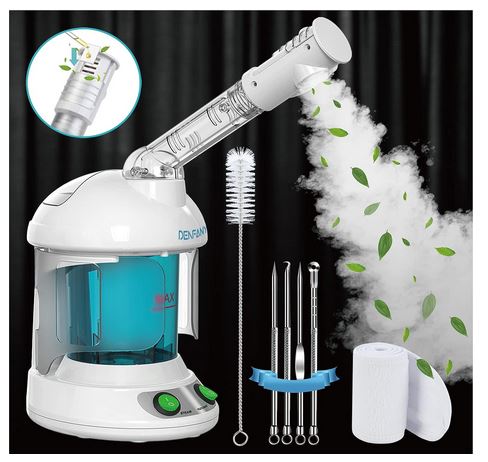
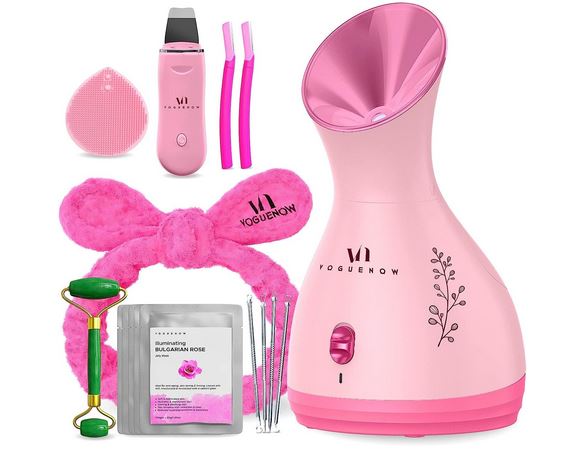
- Steam: If you have a facial steamer, use it to open up your pores and make it easier to remove impurities. If not, you can create steam by placing your face over a bowl of hot water with a towel draped over your head.
- Extraction: Gently remove blackheads and whiteheads using a comedone extractor or your fingers (with clean hands) wrapped in tissue.
- Mask: Apply a facial mask suited to your skin type and concerns. There are various types, including clay masks for deep cleansing, hydrating masks for dry skin, or sheet masks for convenience.
- Massage: Use gentle upward strokes to massage your face with your fingertips to improve circulation and relaxation. There are also electronic facial massager suited to improve the blood circulation and relaxation of your facial muscles.
- Toning: Apply a toner to re-balance the skin’s pH and prepare it for further products.
- Serum: Use a serum that addresses your specific skincare concerns, such as anti-aging, brightening, or hydrating.
- Moisturize: Apply a moisturizer appropriate for your skin type to lock in hydration.
- Sunscreen: Finish with sunscreen in the daytime to protect your skin from UV damage.
Remember to choose products that match your skin type and concerns, and always patch-test new products to avoid potential allergies or irritations. Also, the frequency of DIY facials can vary based on your skin’s needs; some people do them weekly, while others prefer them monthly. Adjust your routine accordingly for the best results.
How To achieve Better Facials Result:
Here are some additional tips for achieving better results with your DIY facials:
- Know Your Skin Type: Understanding your skin type (e.g., oily, dry, combination, sensitive) is crucial for selecting the right products. Use skincare products that cater to your specific needs.
- Patch Testing: Always perform a patch test when trying out new products to ensure you don’t have any adverse reactions or allergies. Apply a small amount to a discreet area and wait 24 hours to check for any redness or irritation.
- Consistency: Regularity is key to seeing improvements in your skin. Stick to a skincare routine, including DIY facials, on a schedule that works for you.
- Gentle Exfoliation: Be gentle when exfoliating, especially if you’re using physical scrubs. Over-exfoliation can damage the skin’s barrier. Limit exfoliation to 1-2 times a week.
- Clean Tools: If you use tools like facial brushes or rollers, make sure to clean them thoroughly after each use to prevent the buildup of bacteria.
- Hydration: Drink plenty of water to keep your skin hydrated from the inside out. Hydrated skin is more supple and youthful-looking.
- Balanced Diet: A healthy diet rich in fruits, vegetables, and antioxidants can contribute to better skin health.
- Adequate Sleep: Ensure you get enough sleep as it plays a significant role in skin repair and rejuvenation.
- Avoid Touching Your Face: Try not to touch your face throughout the day to minimize the transfer of dirt and bacteria from your hands to your skin.
- Sun Protection: Sunscreen is non-negotiable, even on cloudy days. UV rays can cause premature aging and skin damage.
- Customize Your Routine: Tailor your DIY facial routine to address your specific skincare concerns, whether it’s acne, fine lines, hyper-pigmentation, or dryness.
- Relaxation: While doing your facial
- take the time to relax and unwind. Stress can negatively impact your skin, so practicing relaxation techniques like deep breathing can enhance the benefits of your facial.
- Clean Environment: Ensure that your workspace and hands are clean when performing your DIY facial. A clean environment reduces the risk of introducing bacteria to your skin.
- Avoid Hot Water: When cleansing your face, avoid using hot water as it can strip away natural oils. Instead, opt for lukewarm water, which is gentler on the skin.
- Pat, Don’t Rub: After cleansing, gently pat your face dry with a clean, soft towel instead of rubbing, which can irritate the skin.
- Layer Products Wisely: Apply products from thinnest to thickest consistency. Start with serums and finish with moisturizers to seal in moisture.
- Eye Care: Use a separate eye cream or gel designed for the delicate skin around your eyes to address concerns like dark circles or puffiness.
- Stay Informed: Stay updated on skincare trends and ingredients. New products and technologies are continually emerging in the skincare industry, so research and adapt your routine accordingly.
- Professional Consultation: If you have specific skin concerns or conditions that aren’t improving with your DIY facials, consider consulting a dermatologist or skincare professional for personalized advice and treatments.
- Patience: Achieving noticeable results takes time, so be patient with your skincare routine. It may take several weeks or even months to see significant improvements.
- Remember that consistency and a tailored approach to your skincare routine are essential for achieving the best results. Adjust your routine as needed and listen to your skin’s needs over time.
Facial Cleansing Product
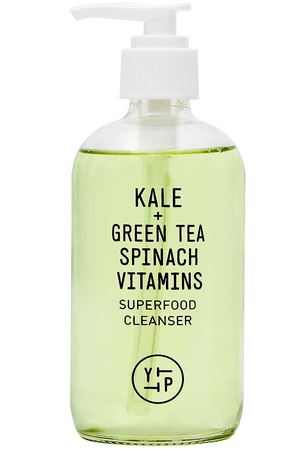
Facial Exfoliation Product

Click to purchase now and start your journey to smoother, healthier skin!”
Facial Steamers
Facial Whitehead and Blackhead Removers | Comedone Remover

Are stubborn blackheads and acne holding you back from feeling your best? Say goodbye to those pesky skin issues with our professional-grade Blackhead Remover Vacuum.
Experience the satisfaction of effortlessly removing blackheads and whiteheads from the comfort of your home. USB rechargeable for convenience and portability. Say goodbye to expensive spa treatments and hello to radiant, blemish-free skin!
Join countless others who have transformed their skincare routine with Yccu. Don’t miss out on the chance to regain your confidence and put your best face forward.
Click to purchase now and embark on your journey to clear, glowing skin!”
Facial Mask Suited For Your Skin
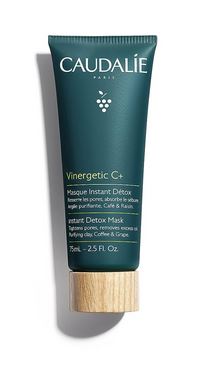
Are enlarged pores and impurities preventing your skin from reaching its full potential? Say hello to clearer, smoother skin with our Caudalie Instant Detox Clay Mask.
Formulated with natural clay, this mask works its magic in just 10 minutes. Visibly tighten pores and detoxify your skin, leaving it refreshed and radiant. Experience the luxury of a spa-like treatment from the comfort of your home.
Rediscover your natural beauty with Caudalie. Don’t miss out on this opportunity to transform your skin and boost your confidence.
Click to purchase now and unveil the radiant, pore-free skin you deserve!”
Facial Massager For Improving The Elasticity of The Skin
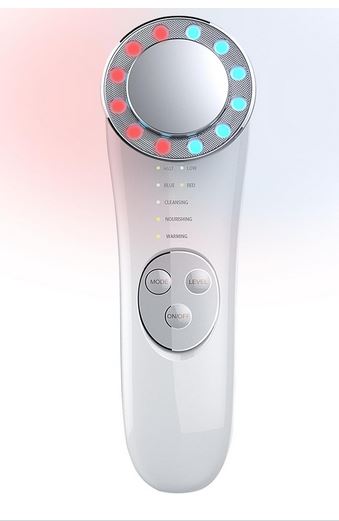
Are you ready to turn back the clock on aging and achieve an instant face lift at home? Look no further than our Multifunctional Face Roller Tools.
Experience the magic of microcurrent technology for a noticeable, instant face lift. Rejuvenate your skin, improve elasticity, and reduce fine lines. Achieve salon-quality results in the comfort of your own space.
Rediscover your radiant, youthful skin with our cutting-edge technology. Don’t miss out on this opportunity to enhance your skincare routine and boost your confidence.
Click to purchase now and embark on your journey to timeless beauty!”
Facial Toning Gel

Is sagging skin robbing you of your confidence? Reclaim your youthful appearance with our Soluble Collagen-infused Conductive Gel, specially designed for use with Serious Skincare Facial Toning Devices and Nu Face.
Experience the power of collagen to lift and firm your skin. Glides effortlessly for a comfortable, spa-like treatment. Compatible with top-tier facial toning devices for stunning results.
Join countless others who have transformed their skincare routine with Serious Skincare. Don’t let sagging skin hold you back—embrace the radiant, youthful you!
Click to purchase now and unleash the magic of collagen for timeless beauty!”
Facial Serum
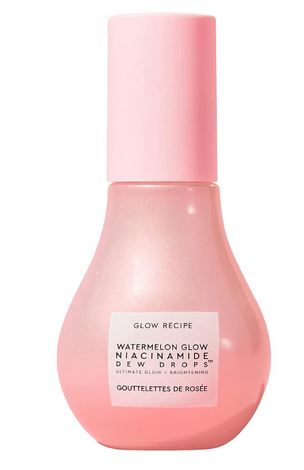
Are you ready to experience the ultimate hydration and radiant glow? Look no further than our Niacinamide Dew Drops Hydrating Serum.
Infused with the goodness of watermelon, niacinamide, hyaluronic acid, moringa oil, and vitamin E. Lightweight and luxurious, it’s the perfect facial serum and priming liquid highlighter in one. Transform your skin with lasting hydration and an irresistible, dewy finish.
Join the glow-getters who have embraced the power of Glow Recipe. Don’t let dullness dim your radiance—embrace the luminous, confident you!
Click to purchase now and unveil your most radiant, glowing skin!”
Facial Moisturizer

Are restless nights and tired skin robbing you of your glow? Reclaim your beauty sleep with our CeraVe PM Facial Moisturizing Lotion. Infused with the hydrating power of hyaluronic acid and the skin-nourishing benefits of niacinamide. Ultra-lightweight and oil-free, it’s the perfect night cream for your face. Wake up to revitalized, moisturized skin that’s ready to face the day.
Join the countless others who have embraced the power of CeraVe. Don’t let fatigue dull your radiance—embrace the beauty of restful nights and confident mornings!
Click to purchase now and unveil the beauty of well-rested skin!”
Facial Sunscreen
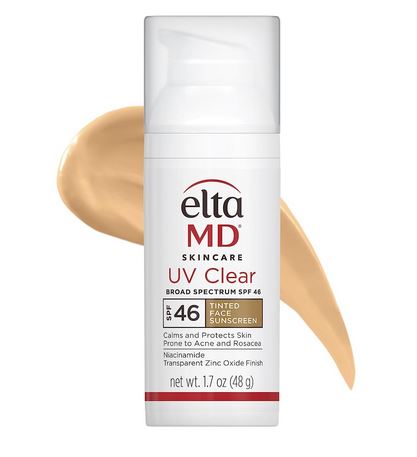
Are you tired of compromising between sun protection and clear, radiant skin? Say goodbye to that dilemma with our EltaMD UV Clear Tinted Face Sunscreen.
Formulated with oil-free SPF 46 and soothing zinc oxide. Designed to protect and calm even the most sensitive and acne-prone skin. Lightweight, tinted, and trusted by dermatologists—it’s the ultimate sun defense and confidence booster.
Join the legion of EltaMD fans who have discovered the power of flawless protection. Don’t let the sun’s harmful rays hold you back—embrace a new level of sun care and confidence!
Click to purchase now and experience the beauty of clear, protected skin!”

